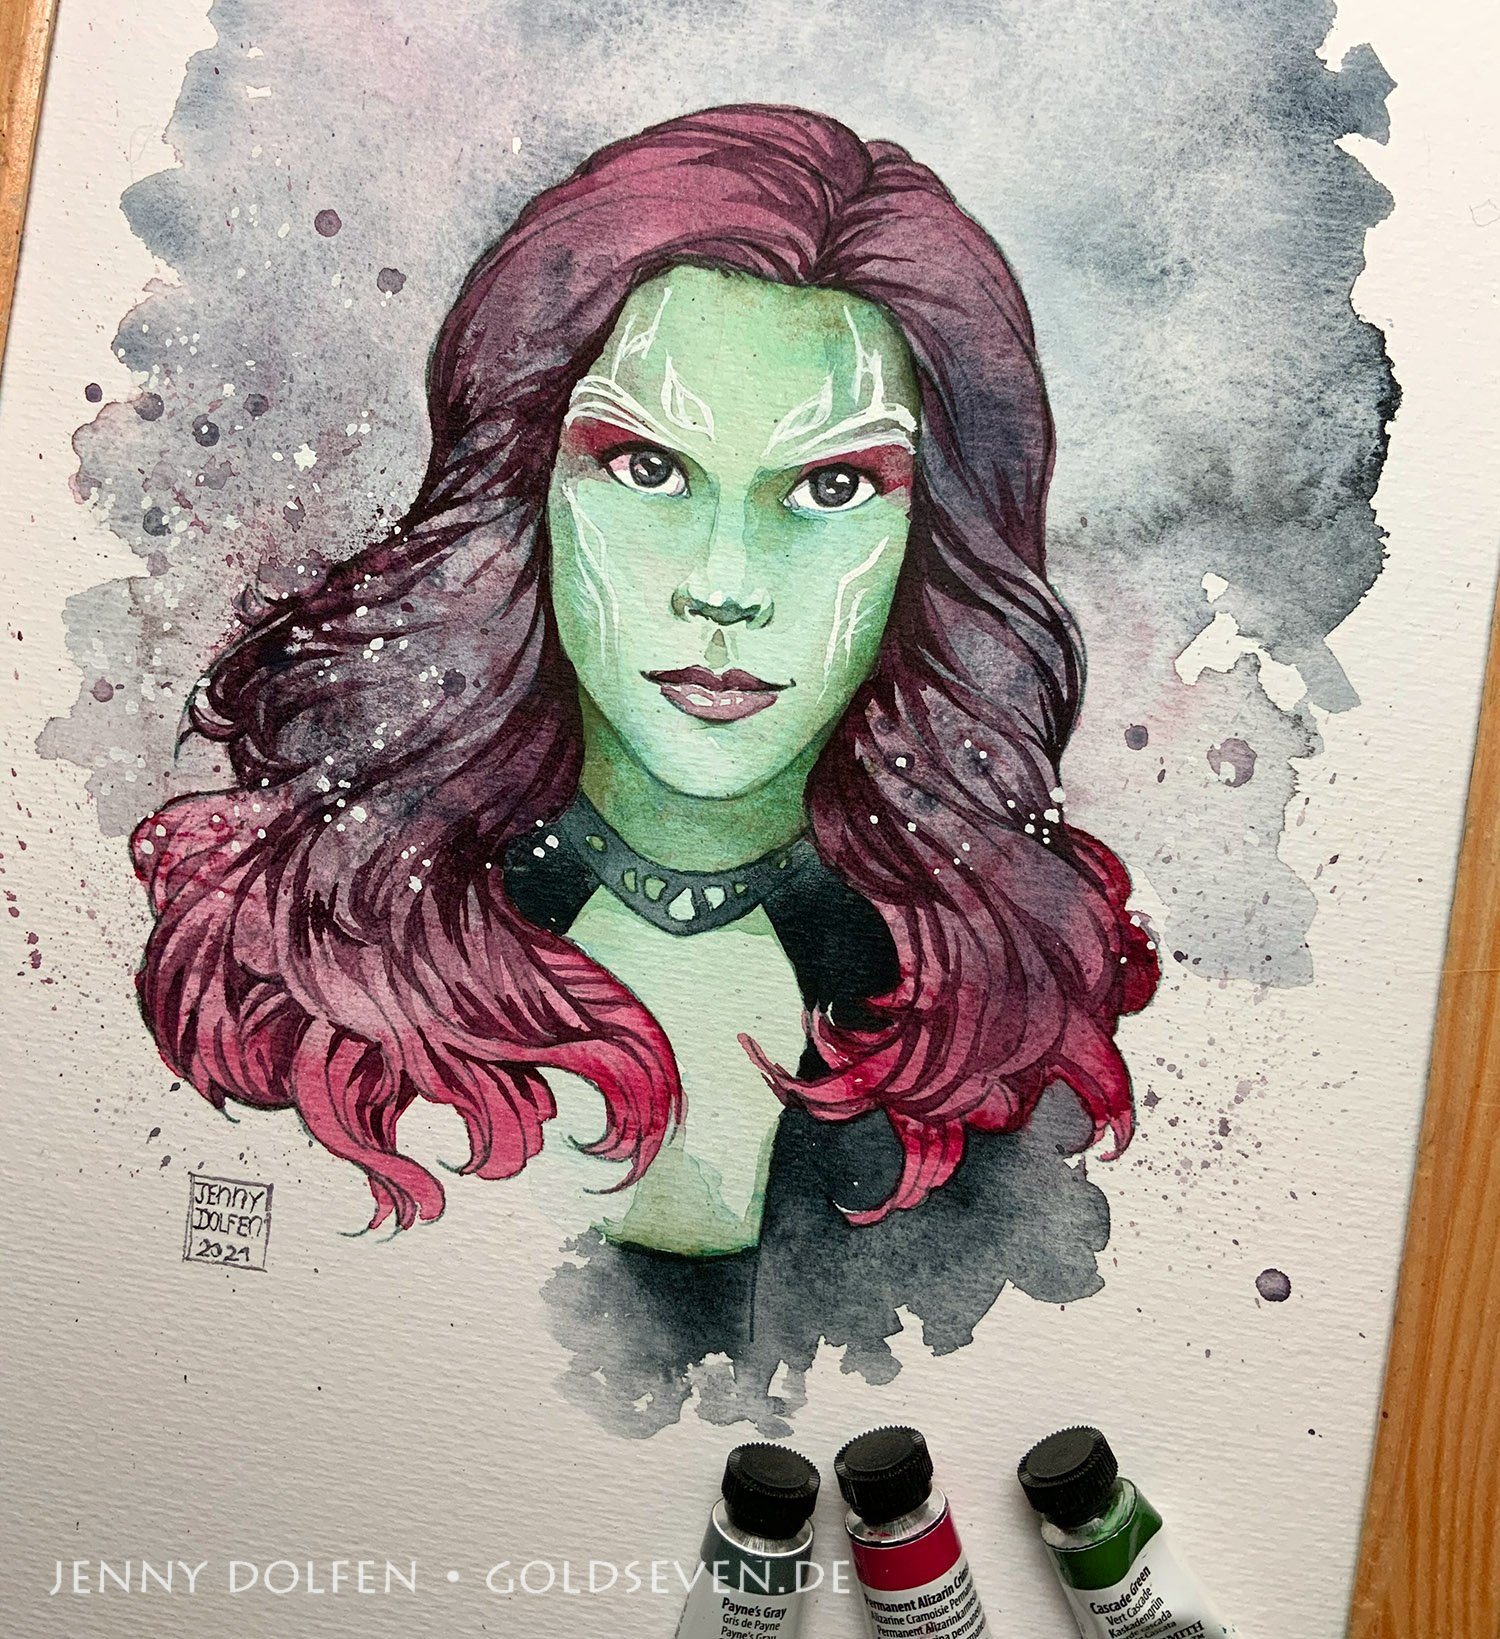
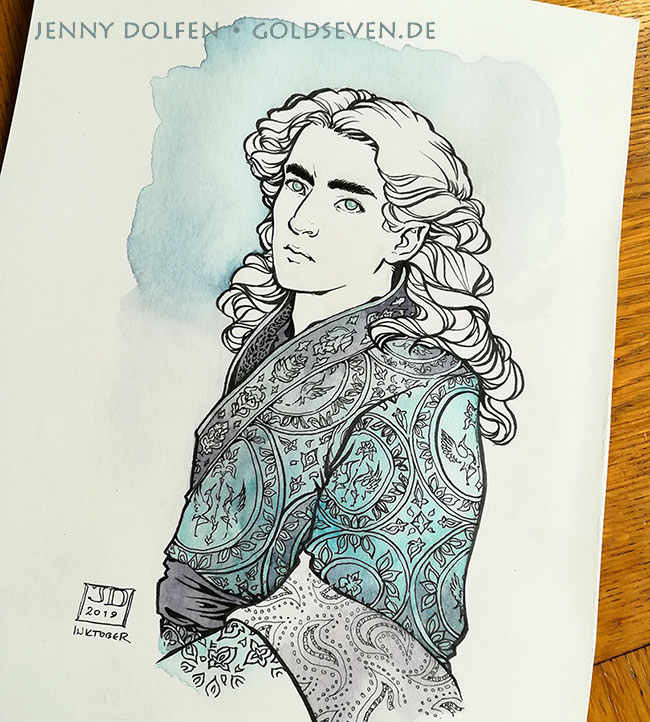
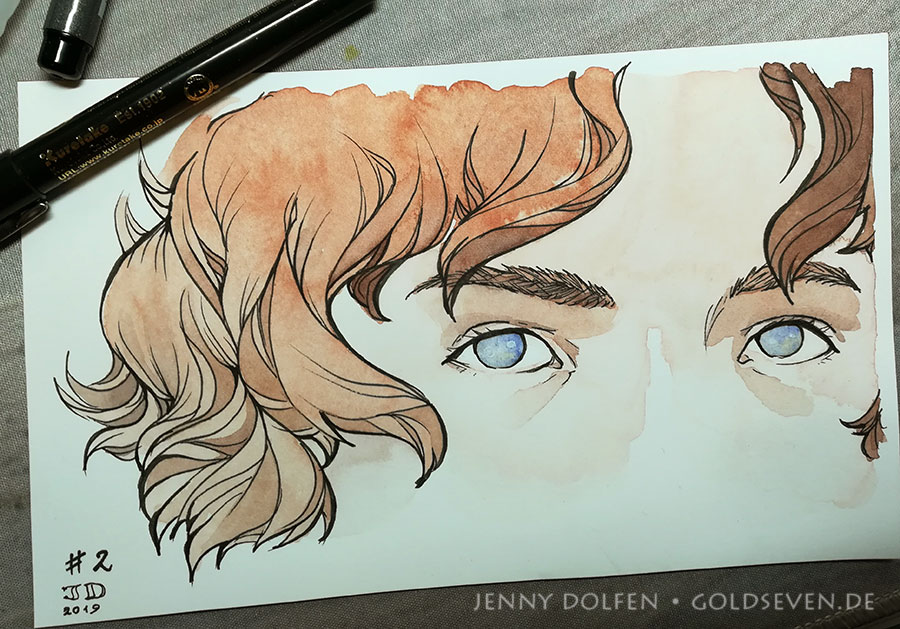
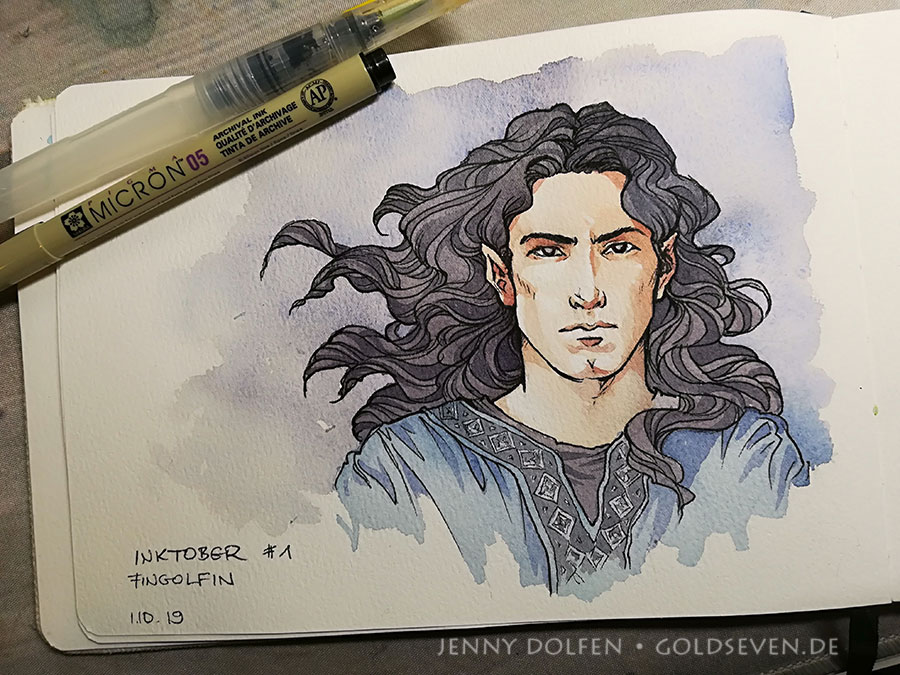
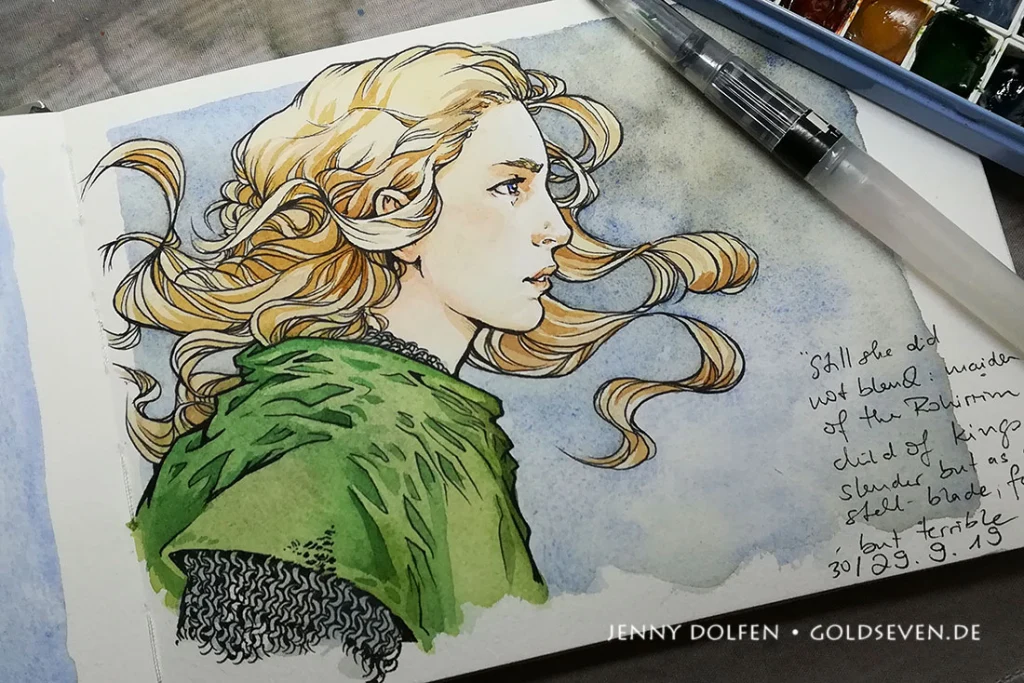
It’s been about two years since I painted my last real watercolour. (Short answer: My eyes don’t let me.) I’ve made do with watercolour pencils, larger formats, and of course Procreate, which allows me to basically zoom in on every nostril and work around the blind spots in my vision. I’m relatively happy with all of these, sometimes more so than other times, but I’m still always on the lookout for ways to make my workflow, and the results, more natural, and more like what I used to do before my vision became so poor. In particular, I found it hard to capture that translucency of watercolour.
I discovered a way to incorporate quasi-real gold leaf into Procreate art a while ago, but it never occurred to me that this opened other possibilities, until I downloaded a few (rather low-res) watercolour textures from gumroad and used them in the same way – and I realised I could custom-paint my own watercolour textures without having to bother about details, and then put them in digitally and with an exact fit. I could do them at proper 5000×7000 resolutions, AND I could use just the colours I needed, with just the right amount of water blooms, effects, and granulation. Heck, I could even paint textures specifically for every piece I did, with little or no additional cost in time (getting textures right in Procreate takes me ages).
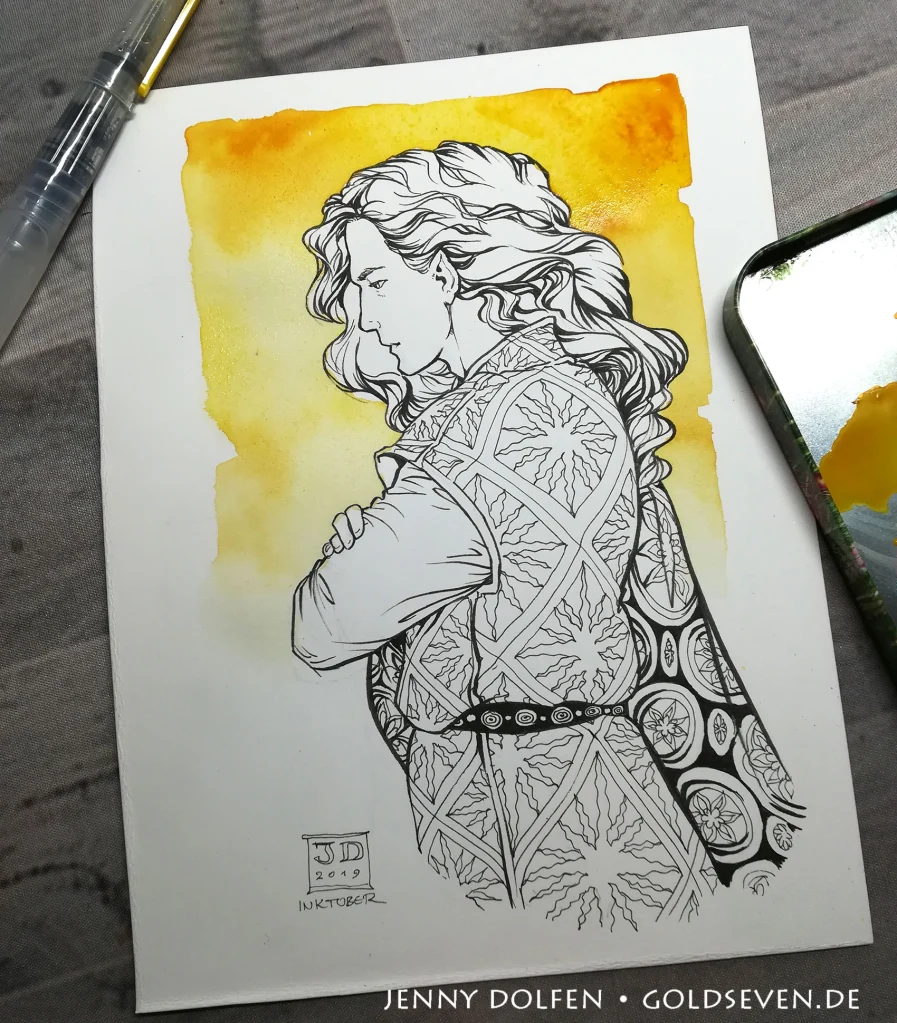
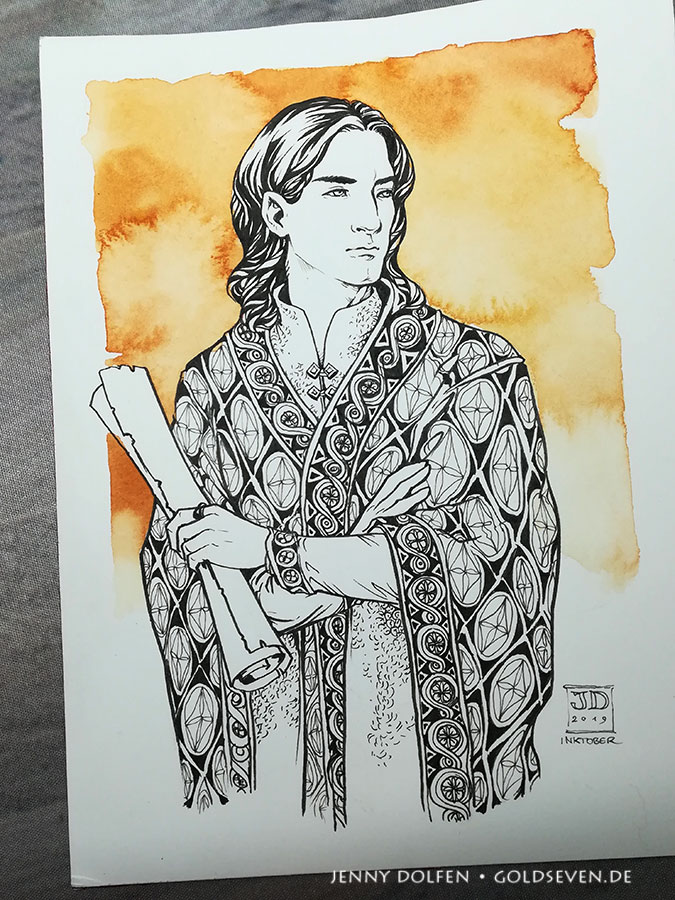
I was BURNING to do this. I brought out all the watercolour papers and paints that had been languishing in my art closet for years, and spent two days painting textures with my favourite colours and combinations. Without overtaxing my eyes. SO rewarding!

And then of course, it was time to fit these into an image! This works just as in the video above.

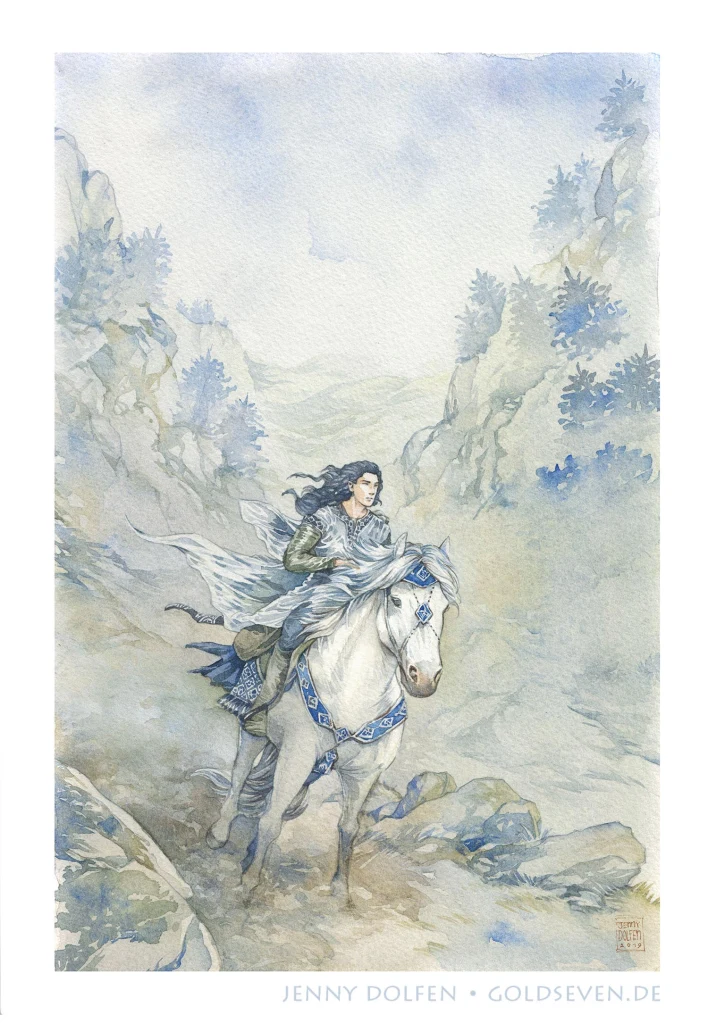
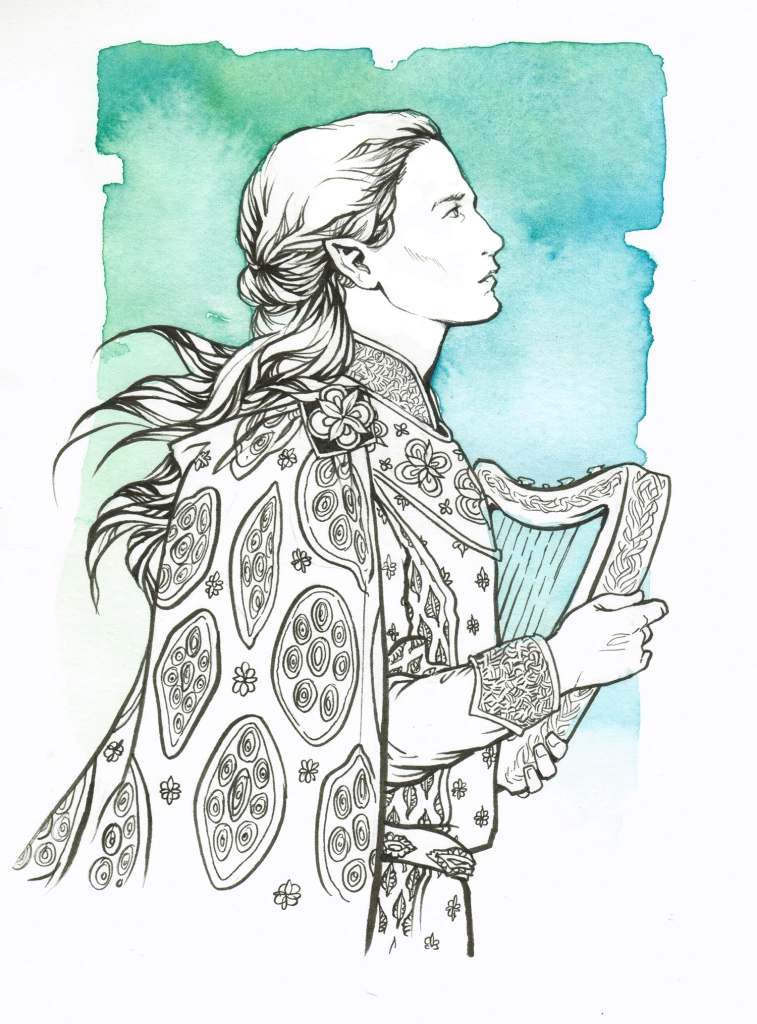
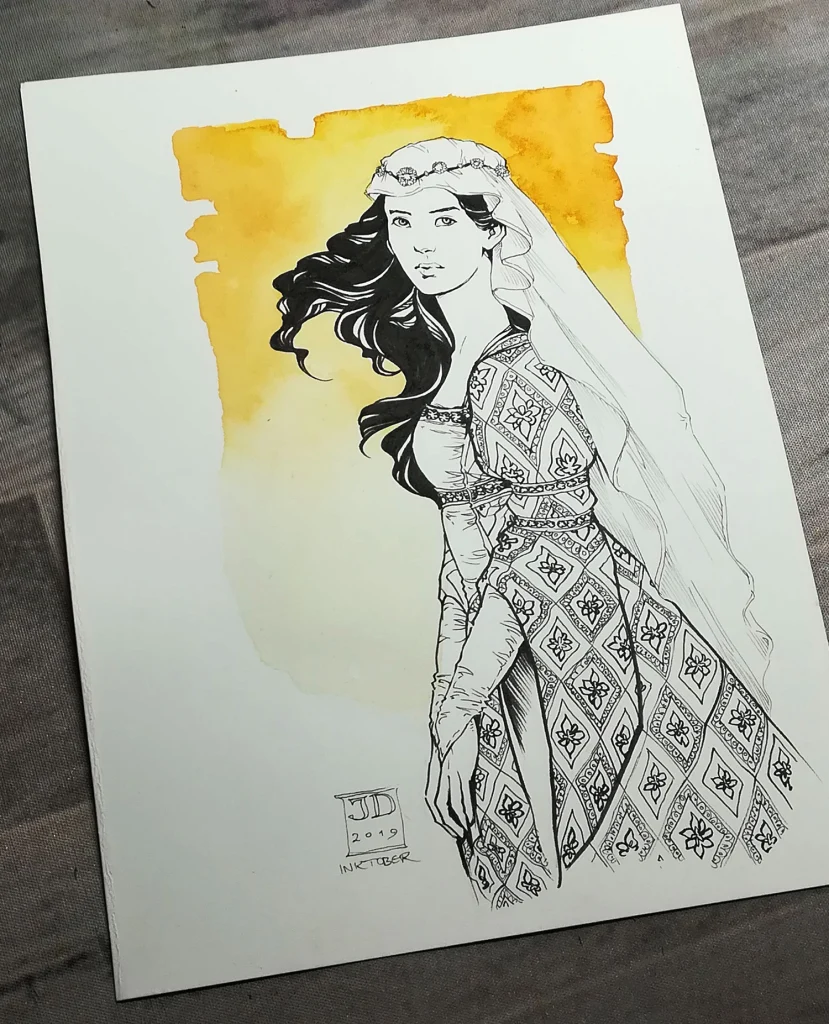
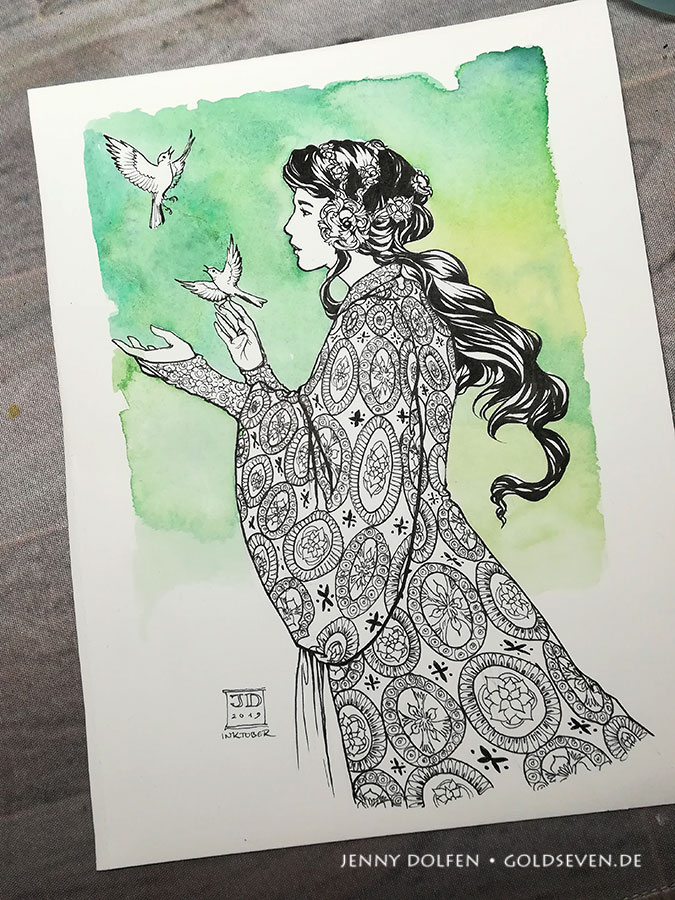
The one above was only the first try. I then went to town with even more background textures I painted, especially more even washes that would be less overpowering. This one below is just flat, unrendered watercolour washes fitted into a Procreate lineart.

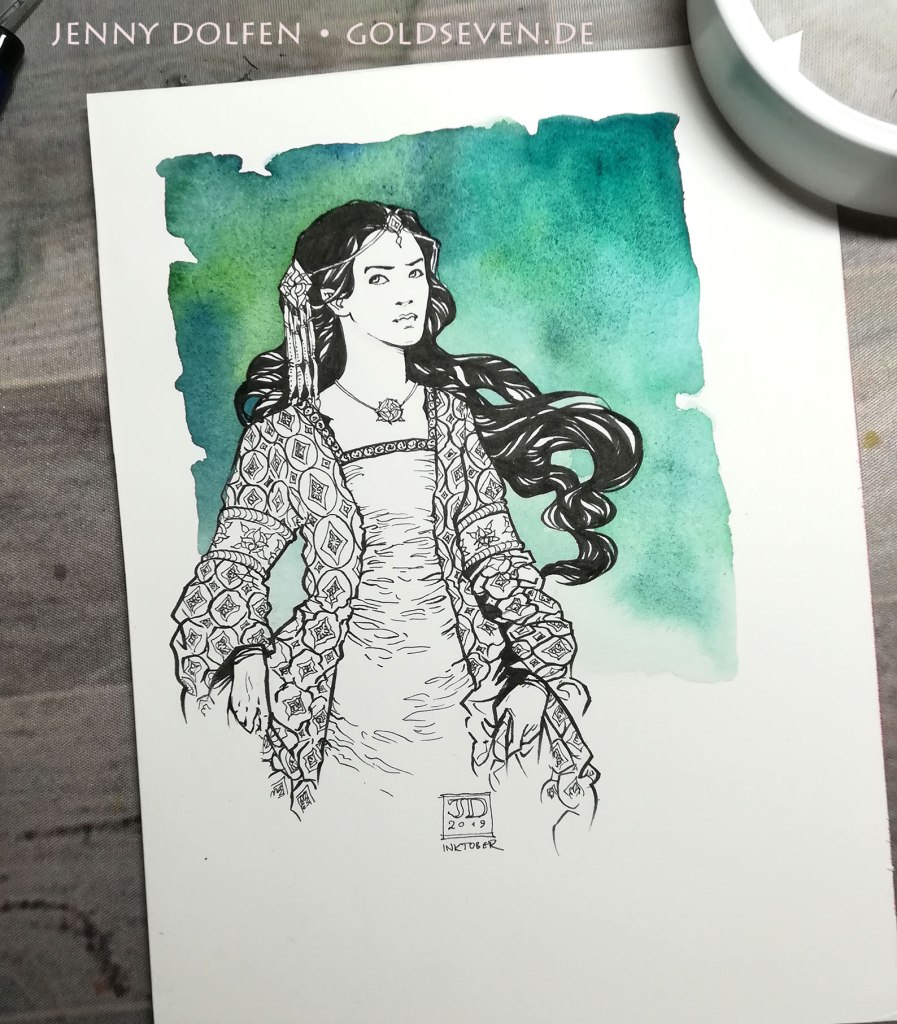
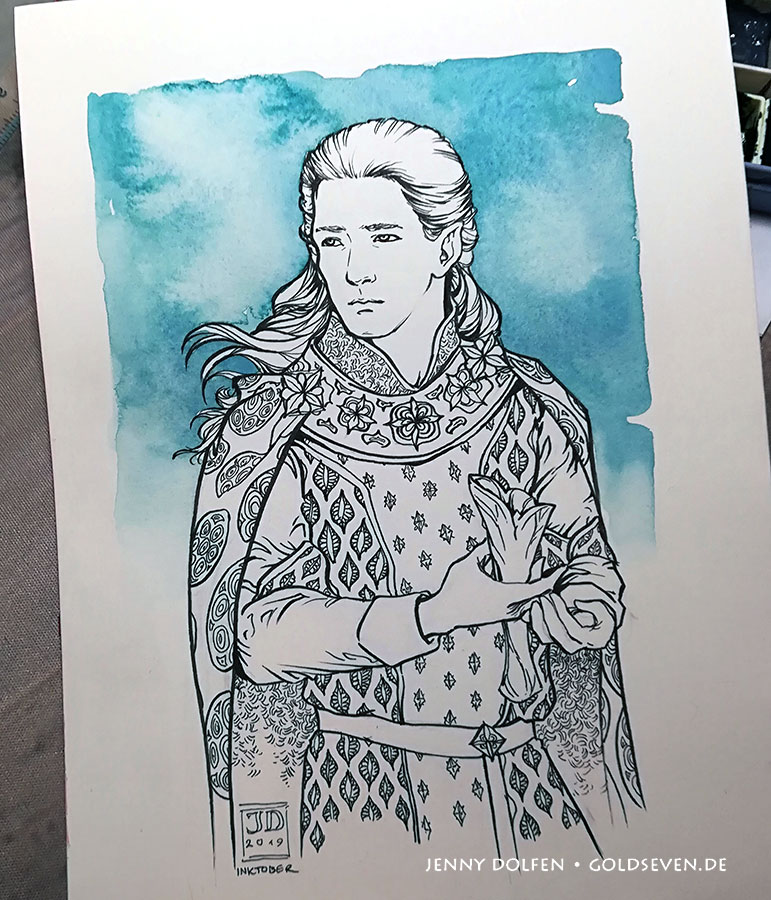
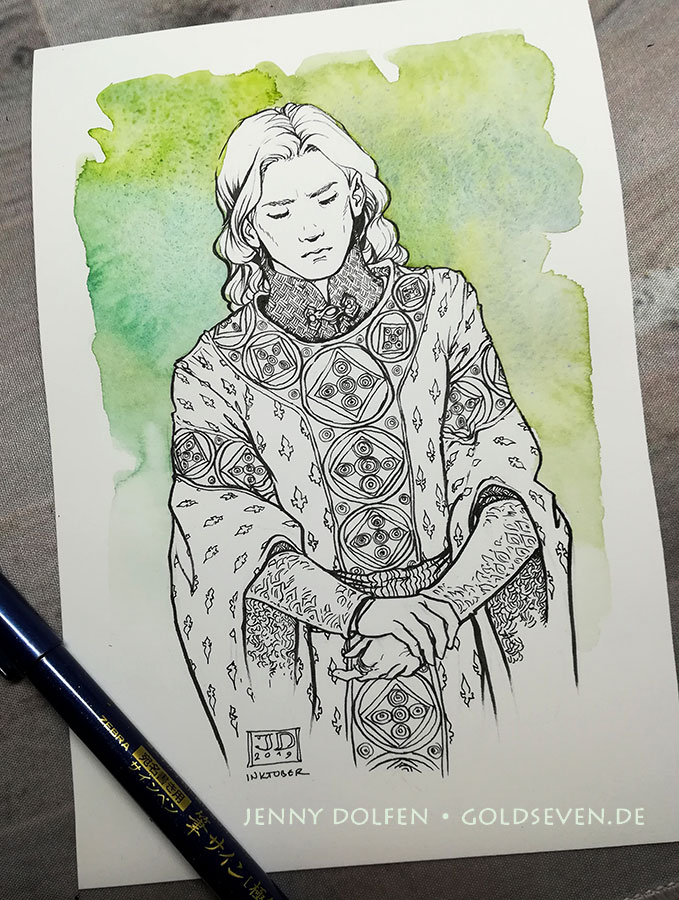
The good thing about this method is that it helps me achieve the look I want for my art without much effort. No fiddling with textures. Just paint the area you want on different layers – one for skin, one for hair, one for the lute, etc – and then copy a texture into that exact layer. A major case of tadaaaa.
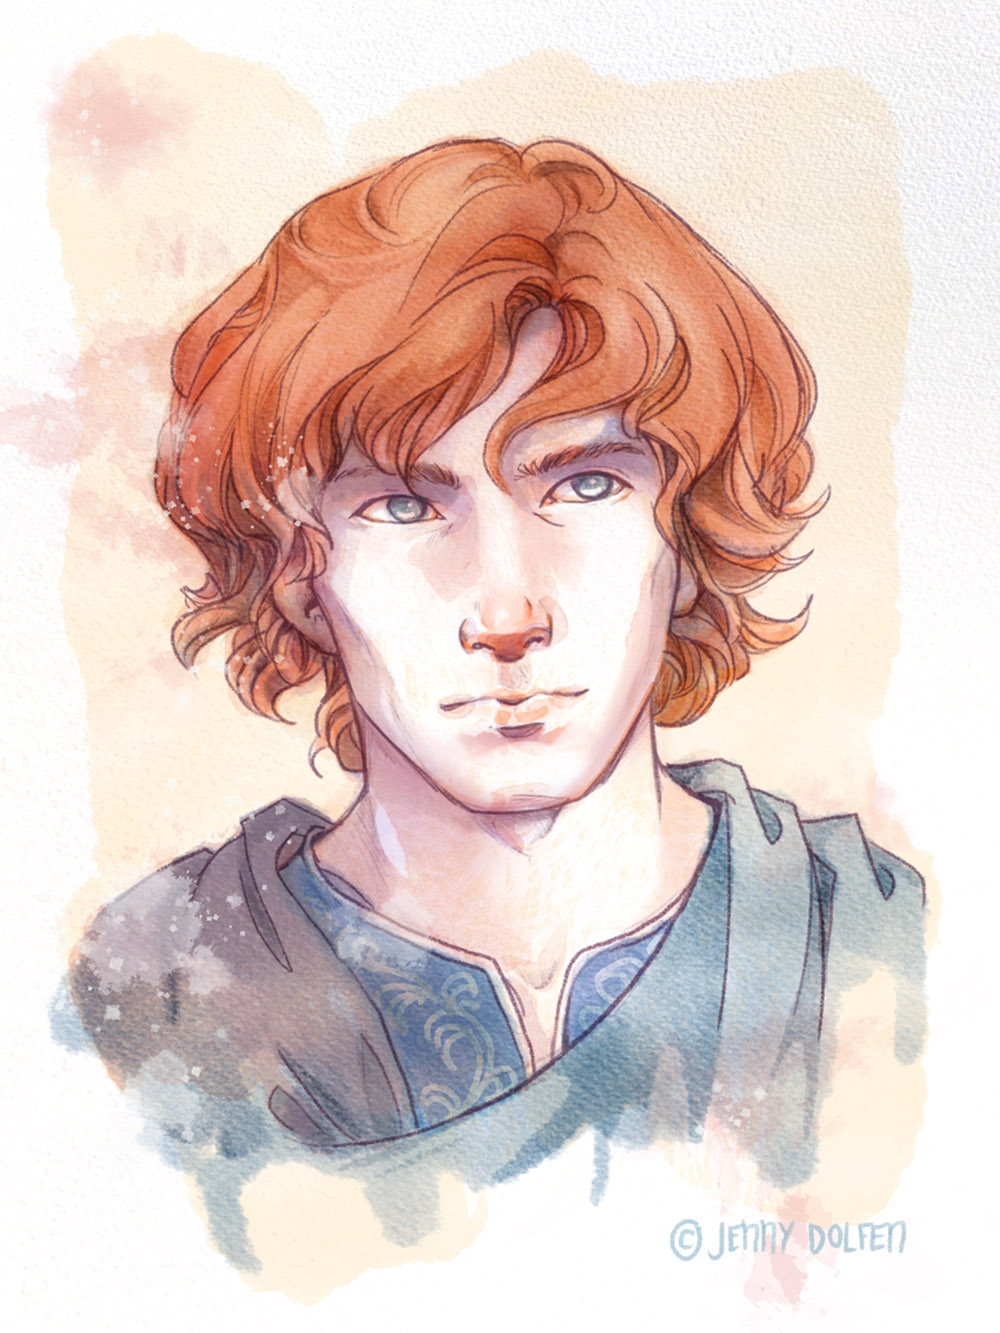
As a next, and pretty much final, step, the painting just needs a little more detailing and shading done on top. I’ve never done a lot of rendering in watercolour (because it renders my beloved lineart pretty useless), so with the right detail brush in Procreate, this becomes a walk in the park. And goes as quickly as my previous watercolours ever did!
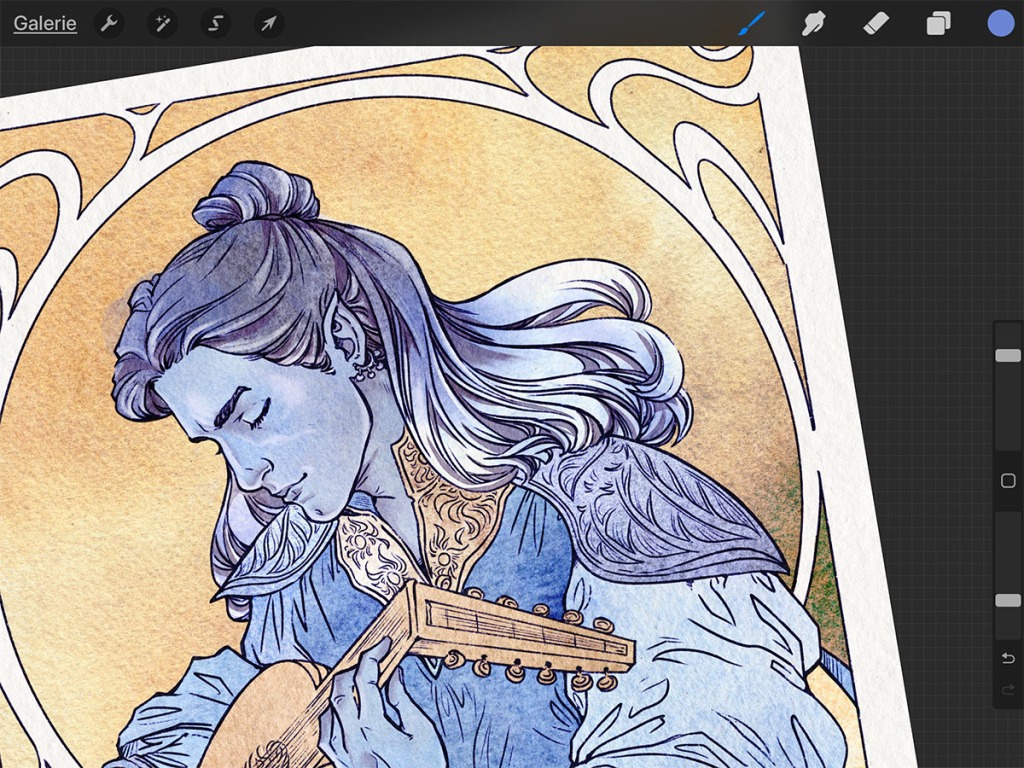
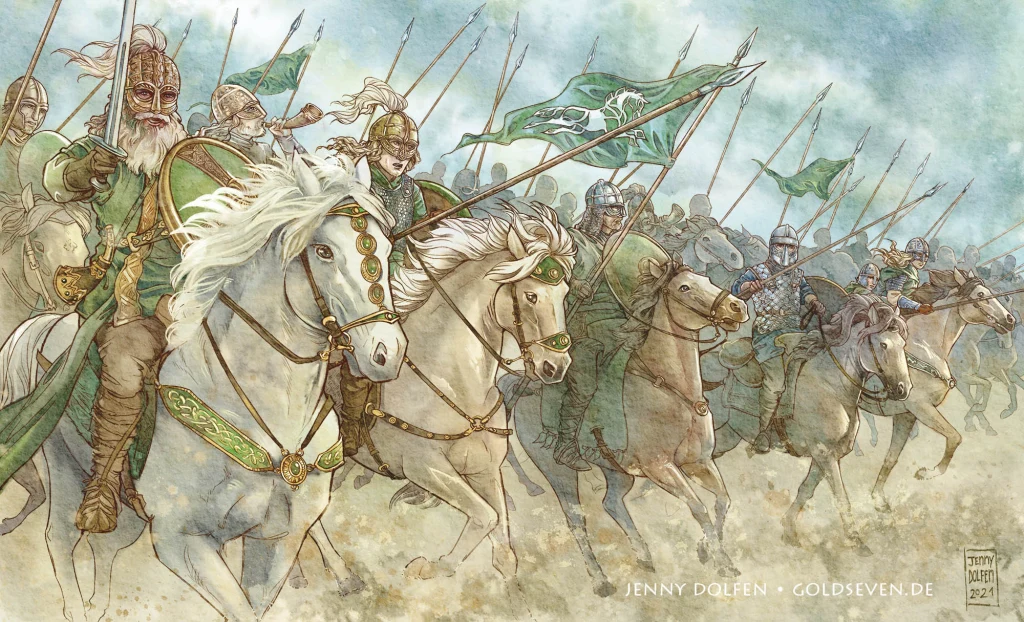
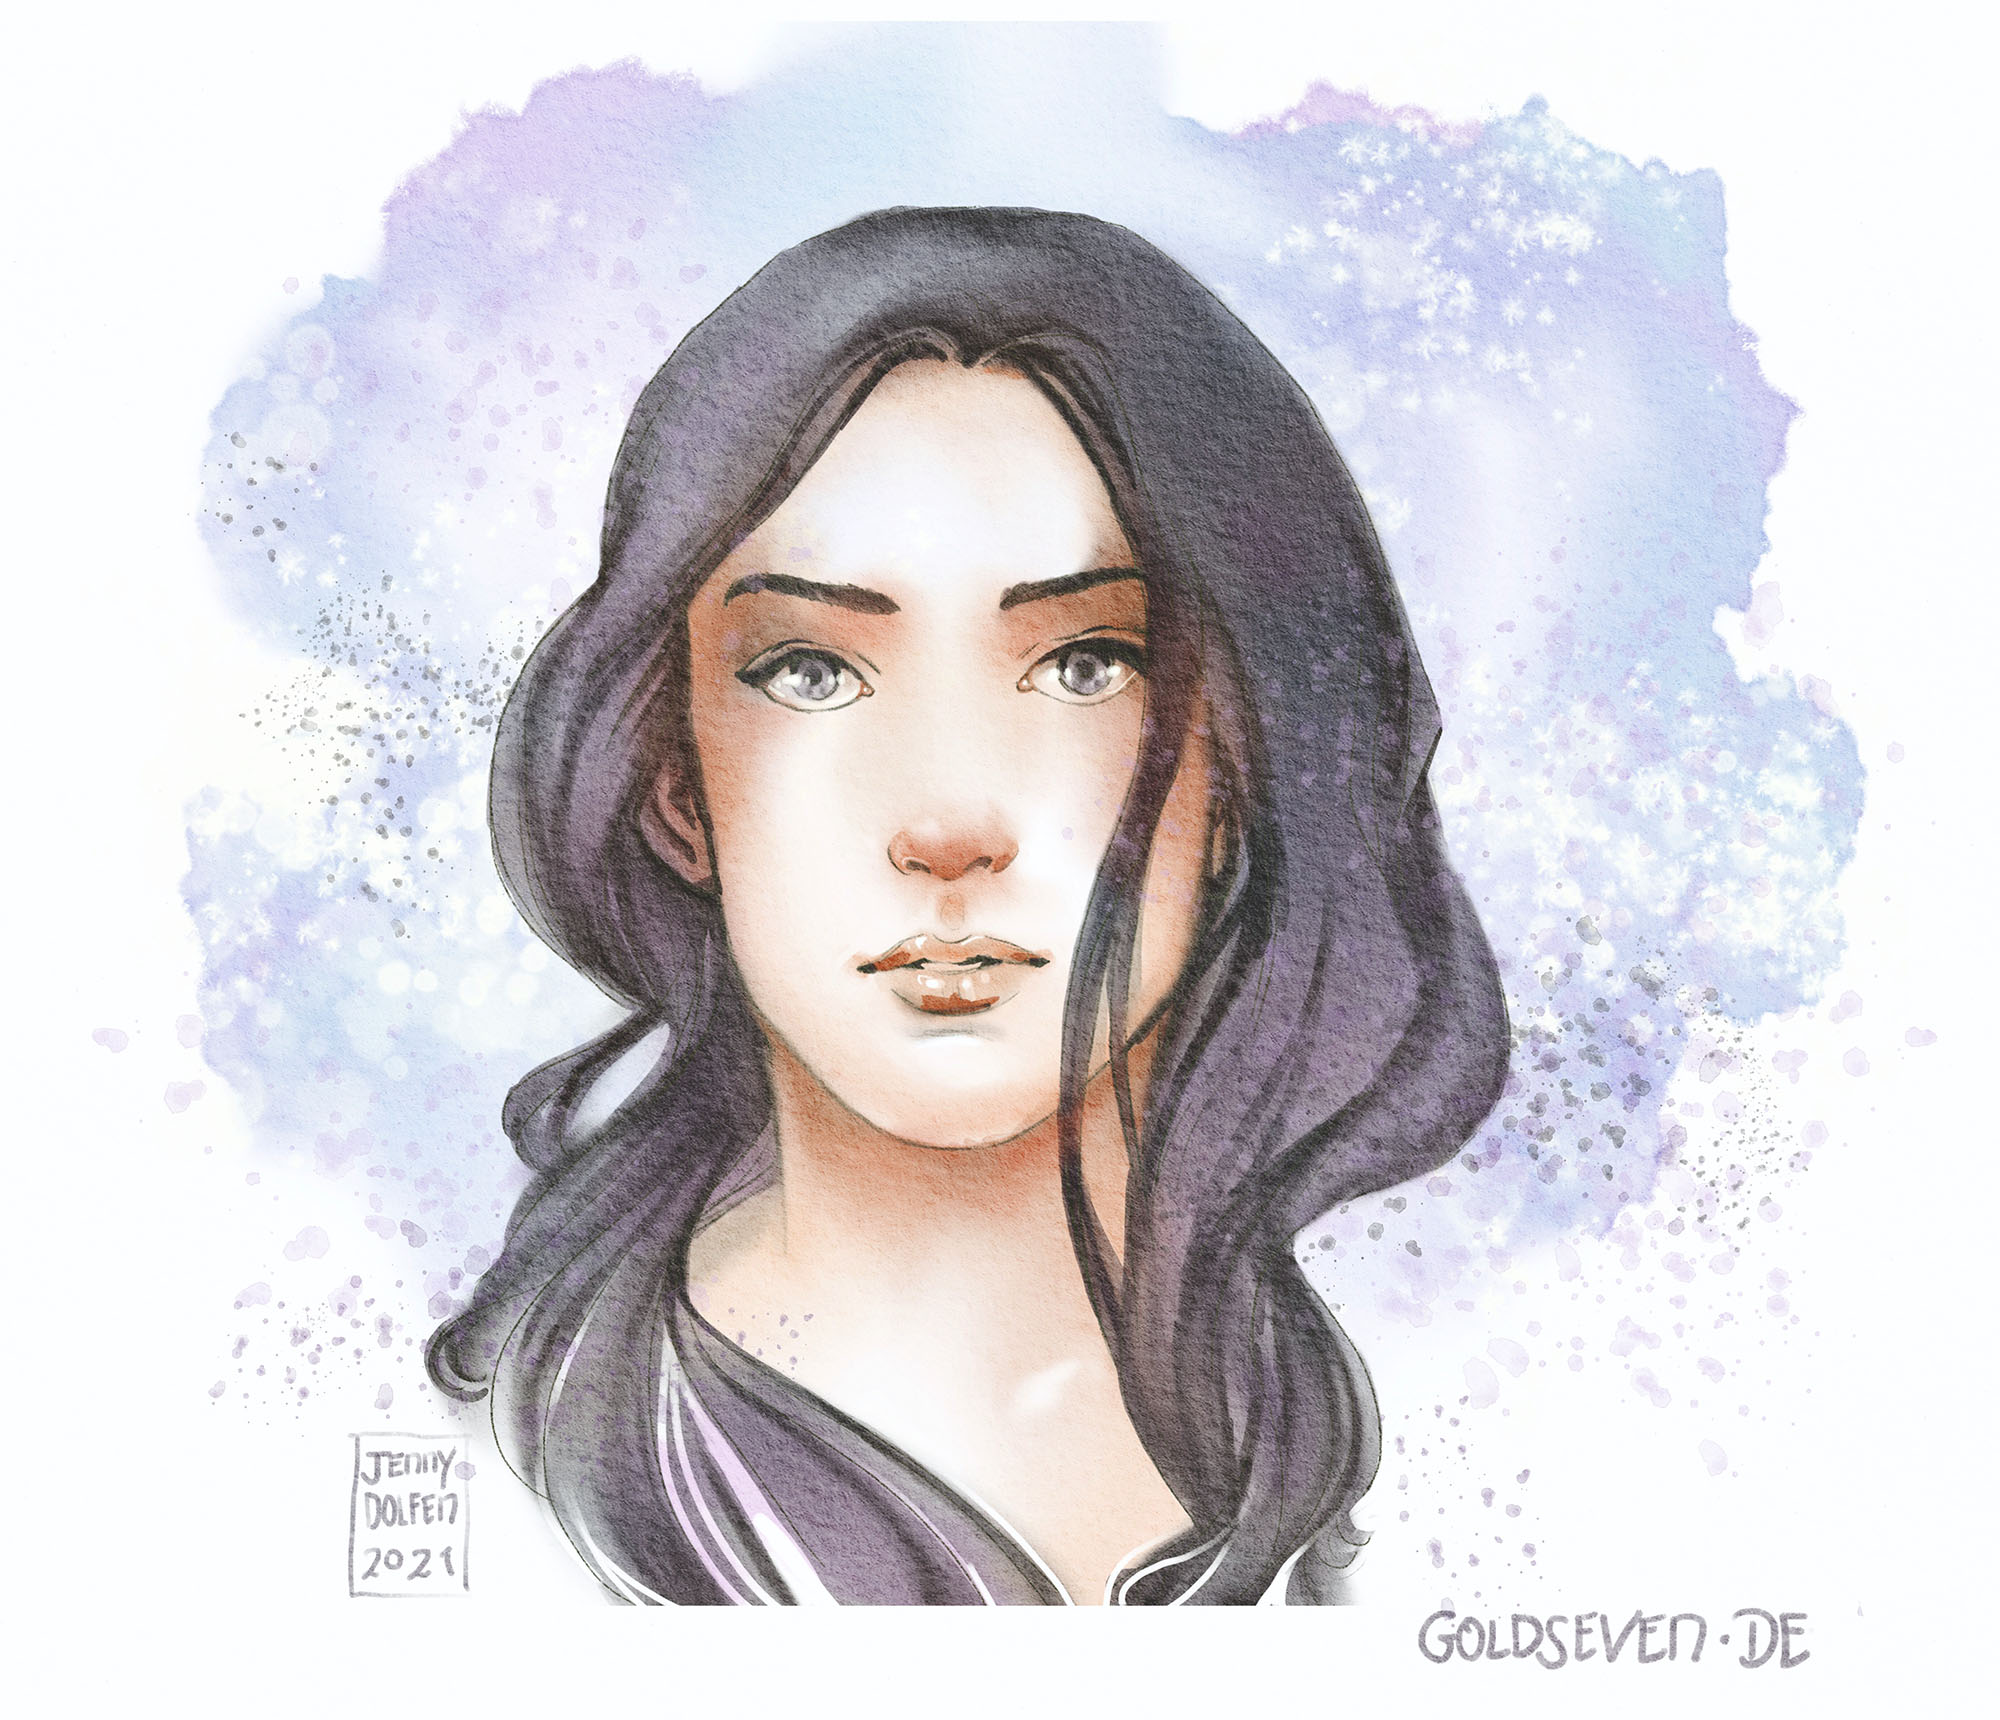
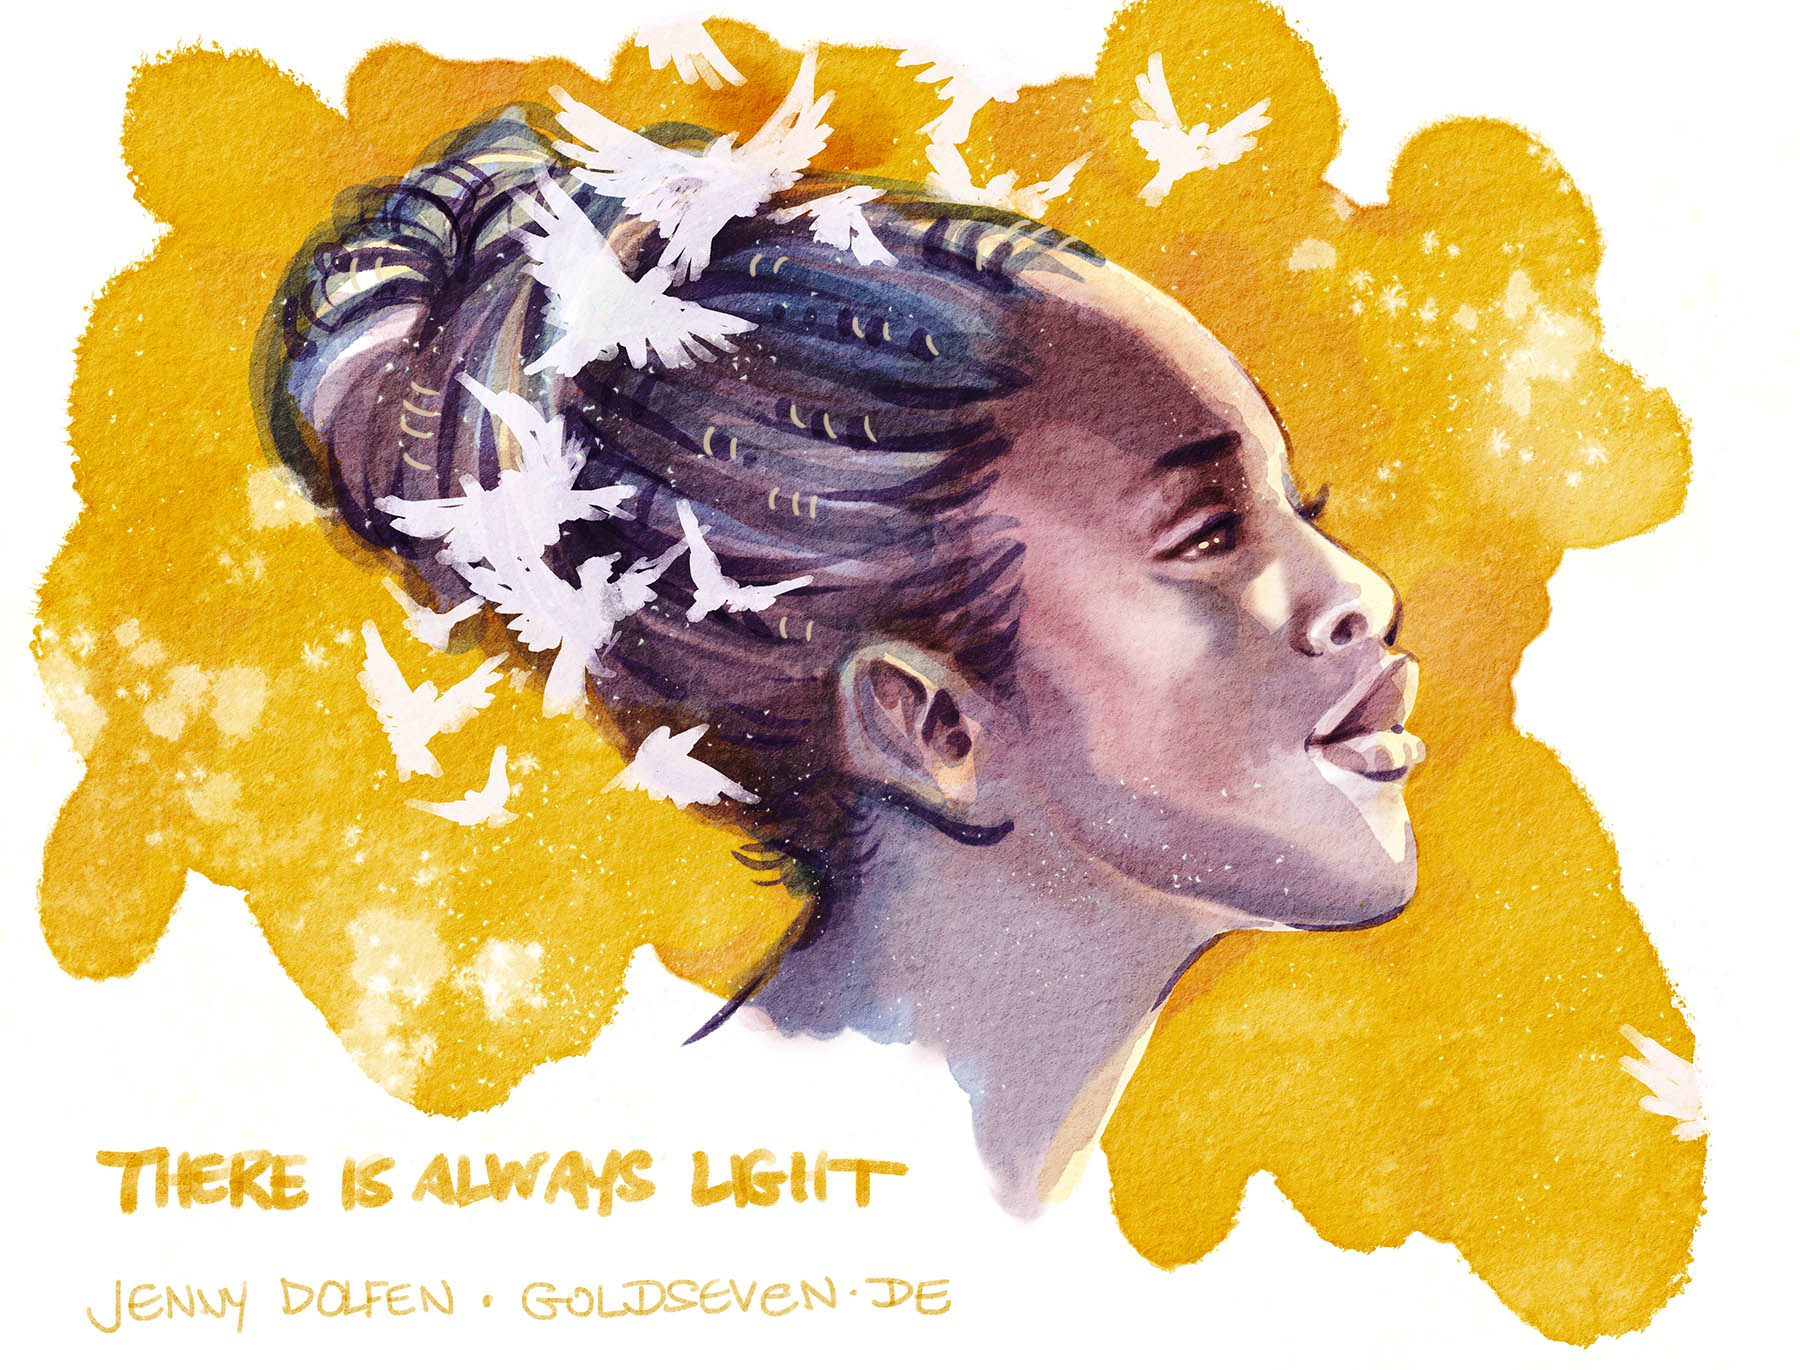
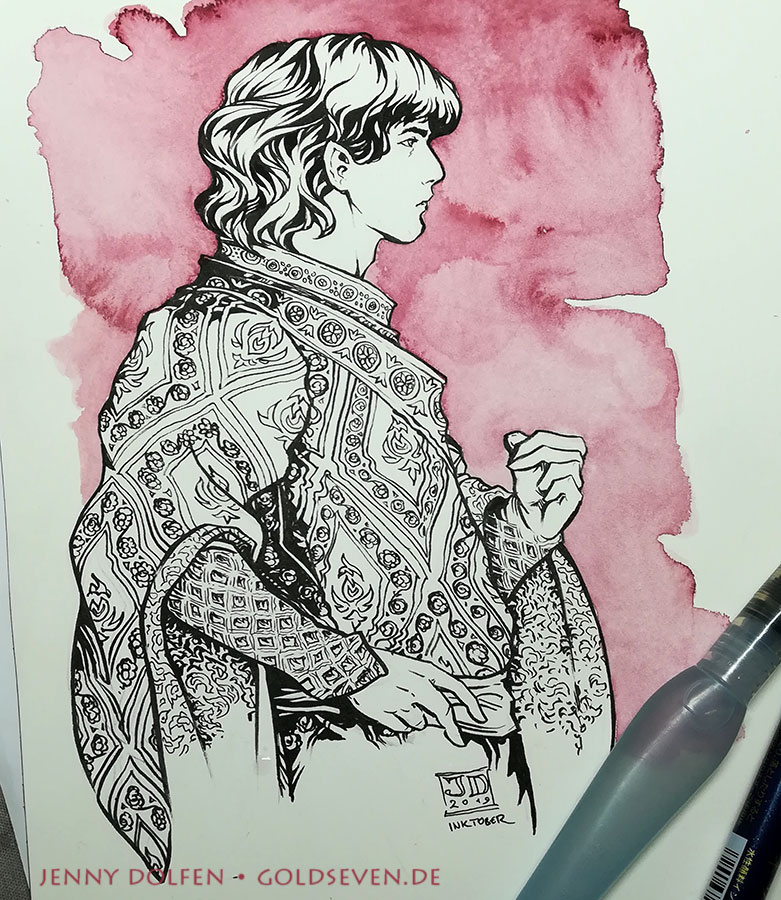
And the final result is the most realistically watercolour-looking of anything I’ve ever tried in Procreate, and all without a lot of brush work. Textures do the heavy lifting. I’ve always known that, and I could almost kick myself for not trying something like this sooner.

If you’d like to try this too, all my textures are available on Gumroad! A few of them are available for free on Patreon. :)